


Getting Started with Hasura Cloud
Table of contents
Step 1: Create an account
Navigate to cloud.hasura.io, and create a new Hasura Cloud account.
Step 2: Connect new/existing database
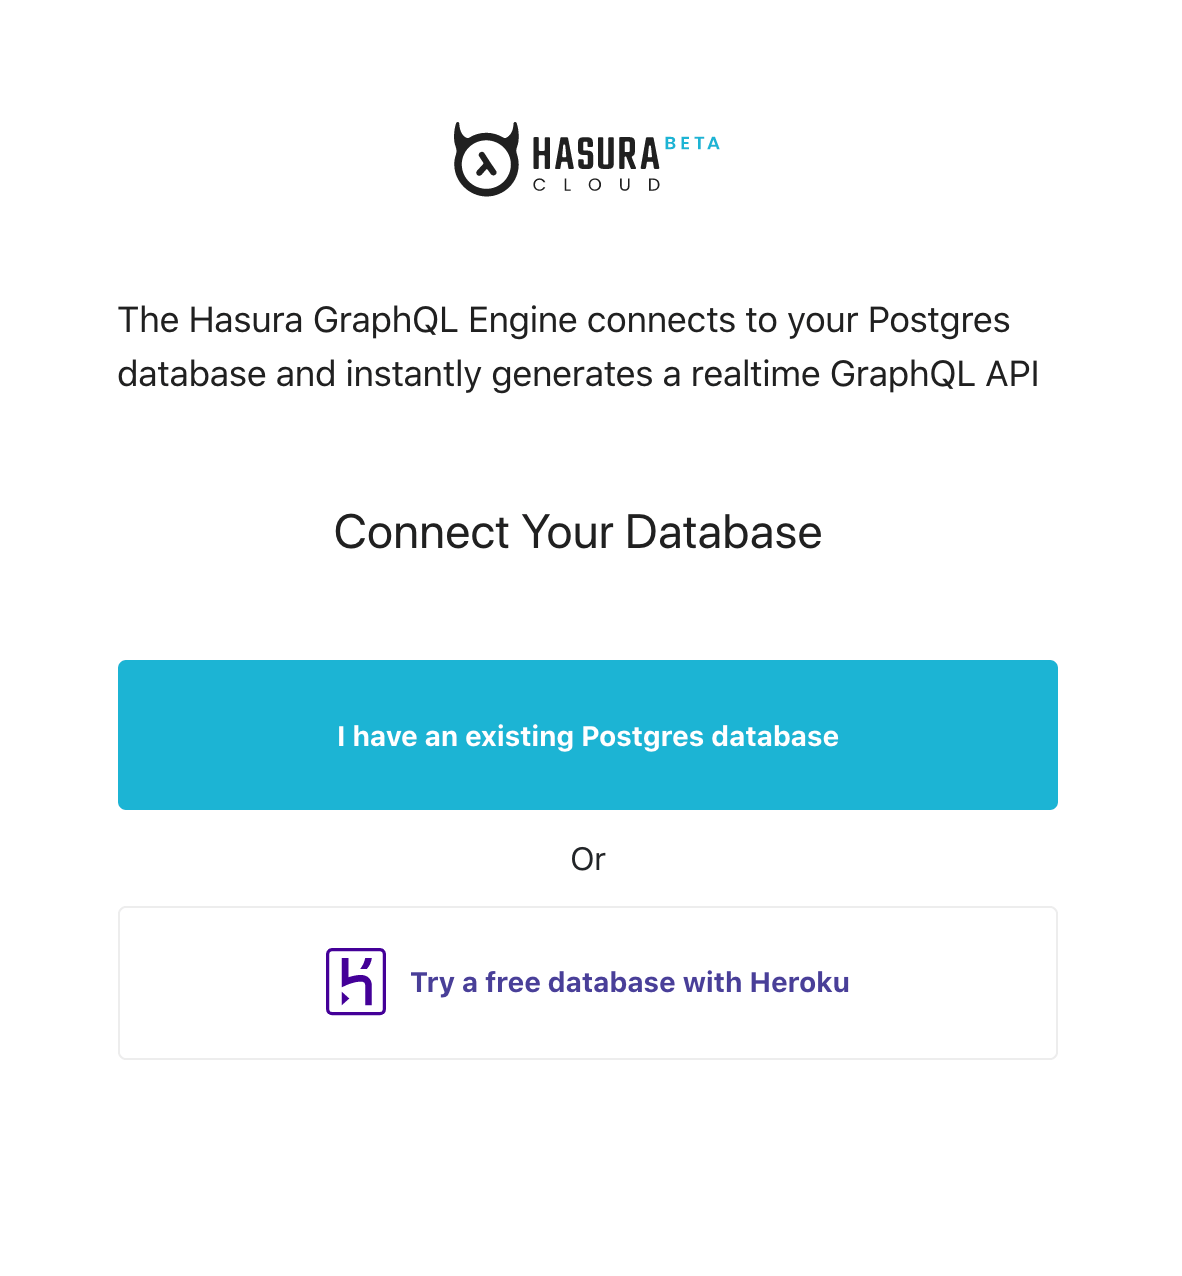
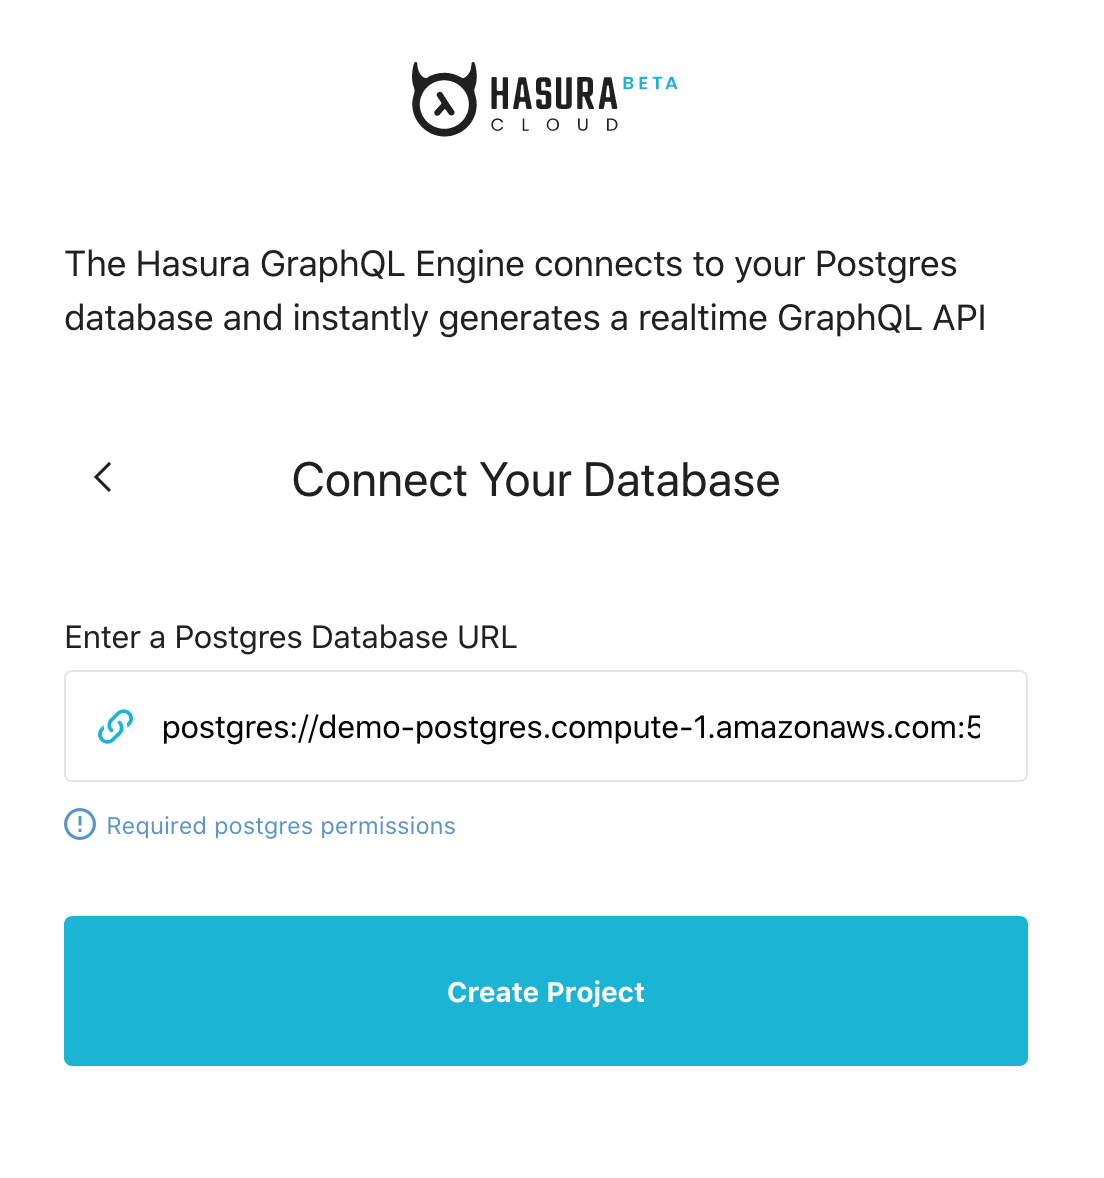
- To use an existing database, choose
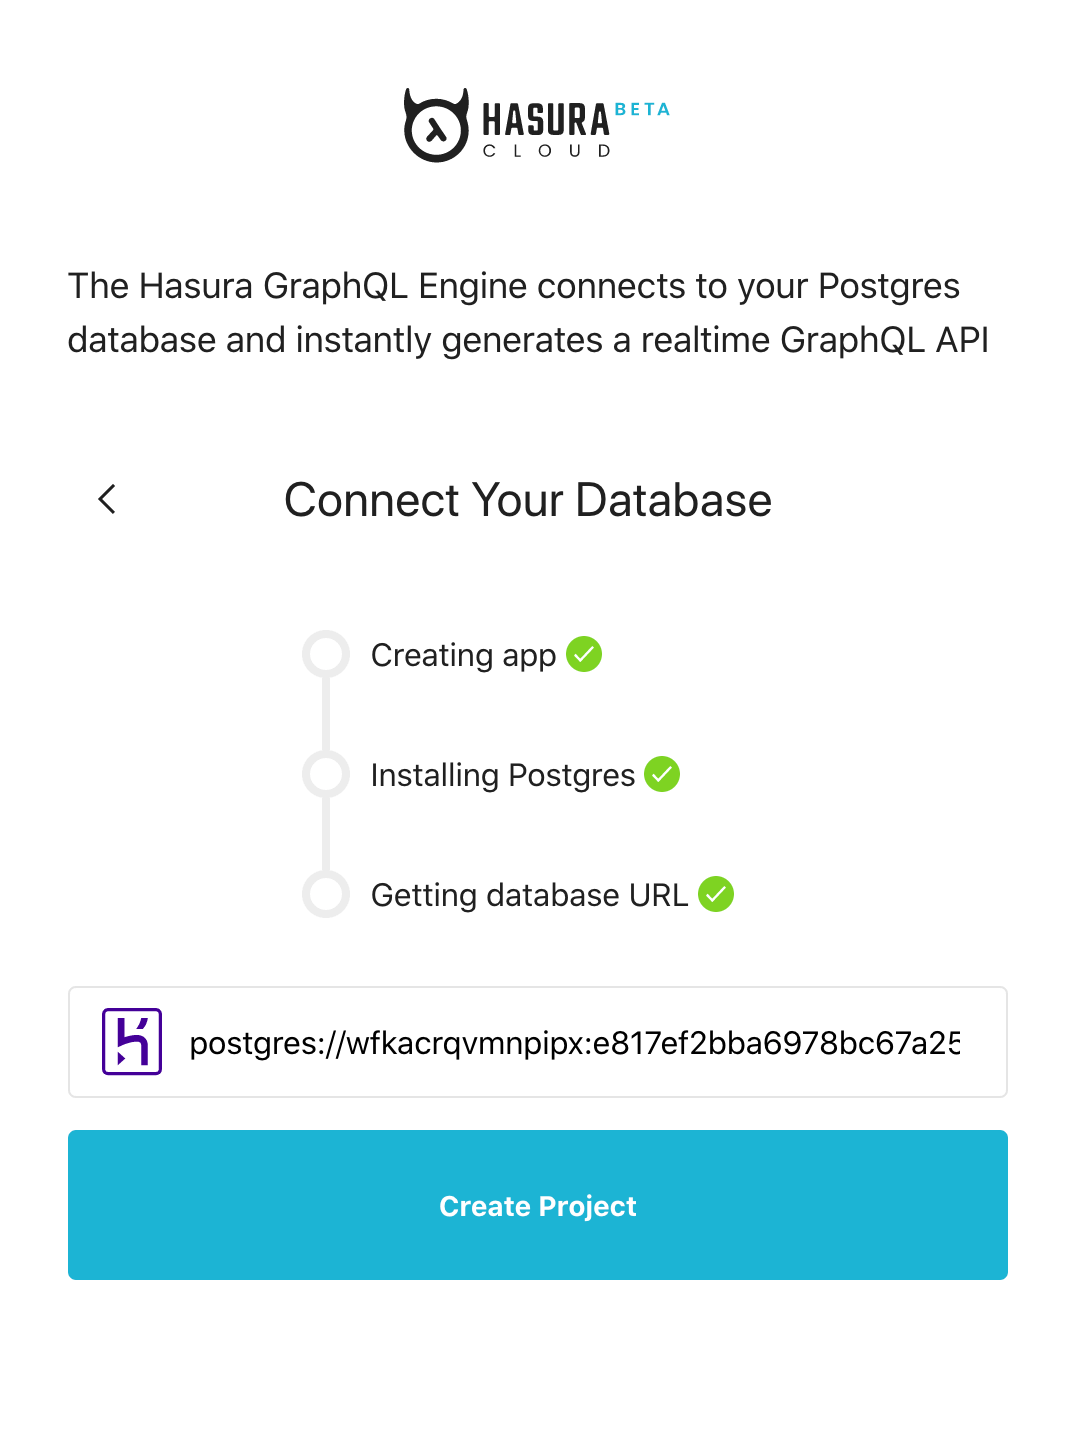
I have an existing Postgres database. - To create a new database, choose
Try a free database with Heroku.

Next steps
Once you’ve created your project, you can get started with building with Hasura or manage your project.
Explore the Hasura console
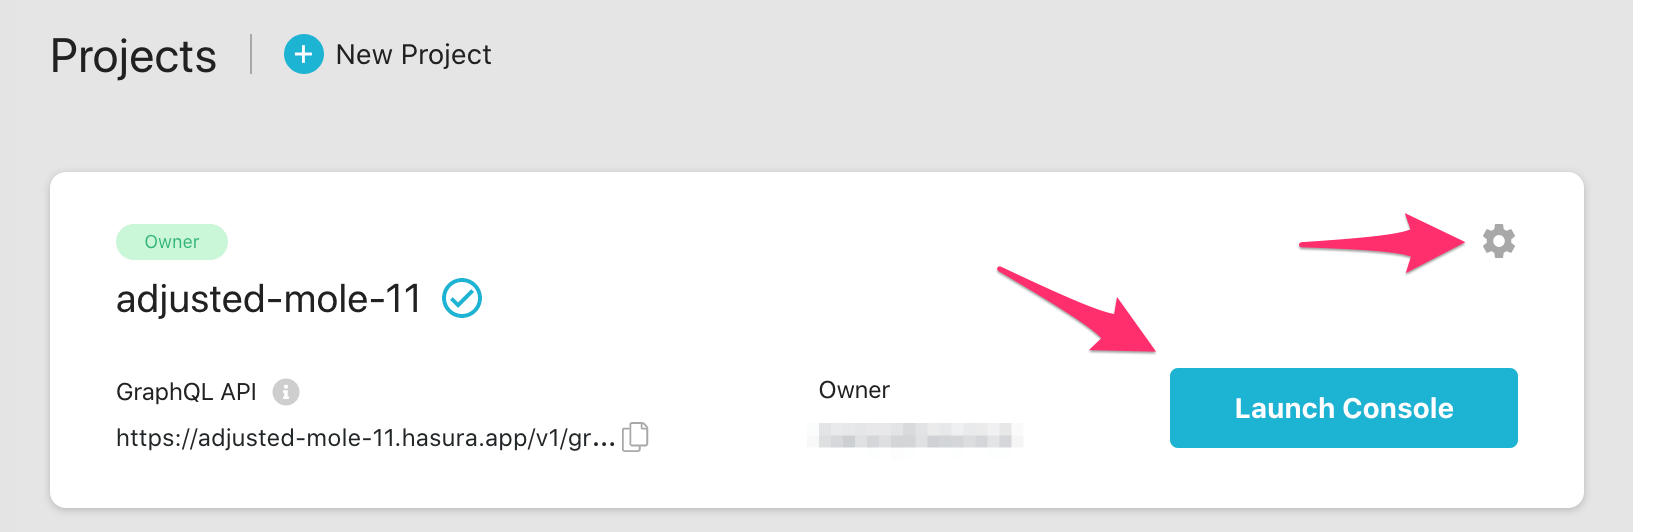
Click Launch Console to open the Hasura console in your browser and make your first GraphQL query or set up your first event trigger.
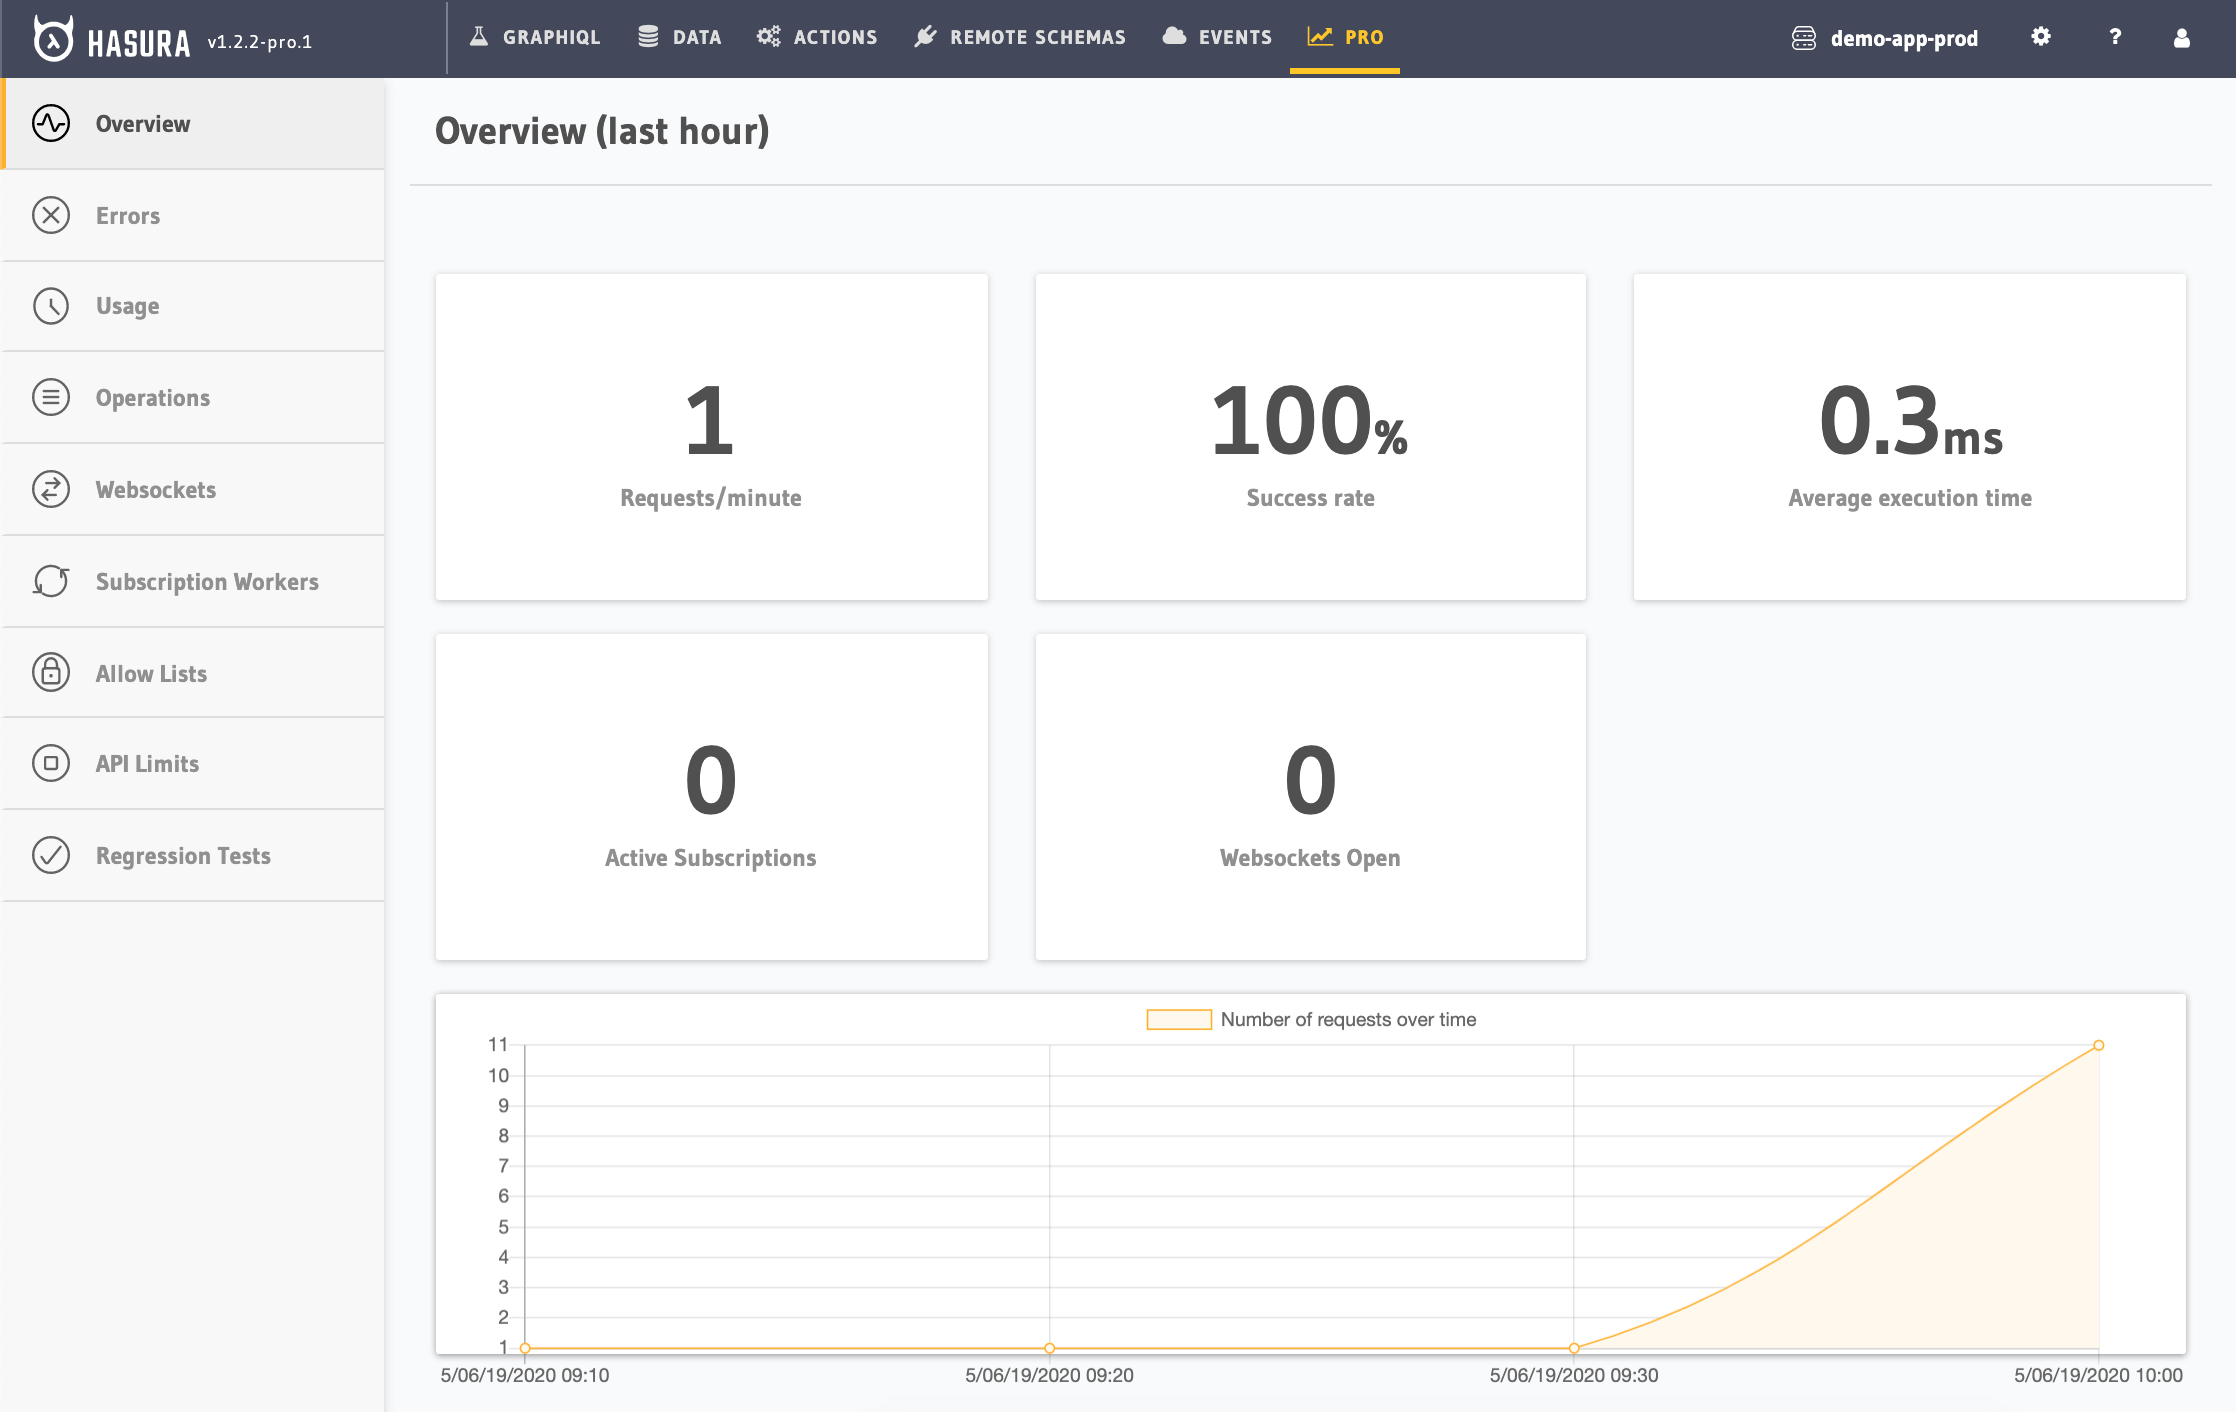
You can navigate to the Pro tab to check out the Pro features that Hasura Cloud has set up for you.
Manage your project
Click the gear icon to manage your project (e.g. add collaborators, env vars or custom domains).
Add an admin secret
Add an admin secret to make sure that your GraphQL endpoint and the Hasura console are not publicly accessible.
Was this page helpful?
Thank you for your feedback!
Stay up to date with product & security news